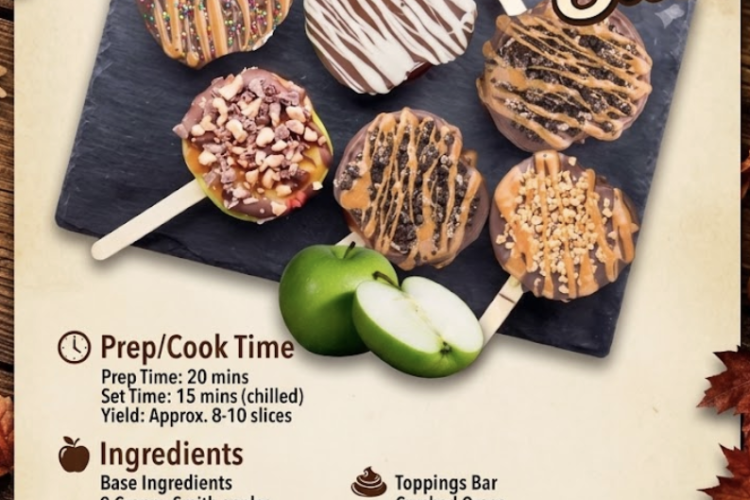
Caramel apple slices on sticks are easily one of the best fall treats ever invented. You get all the flavor of a classic caramel apple, but they are ten times easier to eat, infinitely less messy, and way more fun to decorate.
The biggest trick with apple slices is keeping the chocolate and caramel from sliding right off the wet fruit. Once you master a quick prep step to dry them off, these come together in no time.
Ingredients
- 2 large Granny Smith apples (firm and crisp with a nice tart bite)
- 2 cups dark chocolate chips (or semi-sweet chocolate)
- 1 cup caramel squares (soft baking caramels)
- 1 teaspoon water (to thin out the caramel)
- Wooden popsicle sticks or craft sticks
Optional Toppings:
- Mini chocolate chips
- M&Ms or crushed candies
- Colorful sprinkles
- Crushed Oreo cookies
- Chopped nuts (peanuts, pecans, or walnuts)
- ½ cup melted white chocolate (for drizzling)
Step-by-Step Instructions
Step 1: Slice and Dry the Apples
Wash your apples thoroughly and slice them crosswise into thick rounds (about ½-inch thick). Use the tip of a paring knife or a small round cutter to pop out the core and seeds in the center.
Crucial Step: Apples release a lot of moisture once sliced. Lay the rounds on a layer of paper towels and press another paper towel firmly over the top. Get them as bone-dry as possible so the melted chocolate can stick to the skin and flesh!
Step 2: Insert the Sticks
Make a small slit with a knife in the bottom edge of each apple slice, then push a wooden popsicle stick about halfway into the slice. Line a large baking sheet with parchment paper or wax paper.
Step 3: Melt the Chocolate and Dip
In a medium heat-safe bowl, melt the dark chocolate chips in the microwave in 30-second bursts, stirring well between each round, until completely smooth and glossy.
Hold an apple slice by the stick, dip it into the melted chocolate, and use a spoon to coat both sides completely. Let the excess chocolate drip back into the bowl, then lay the slice flat on the parchment paper. Repeat for all slices and pop the tray in the fridge for 5 to 10 minutes so the chocolate layer sets up firm.
Step 4: Melt the Caramel and Drizzle
In a small microwave-safe bowl, combine the caramel squares and 1 teaspoon of water. Microwave in 20-second intervals, stirring in between, until melted and smooth. Drizzle the warm caramel generously over the hardened chocolate layer.
Step 5: Decorate!
While the caramel is still warm and sticky, go wild with your toppings! Sprinkle over crushed Oreos, chopped nuts, sprinkles, or candies. Finish with a quick zig-zag drizzle of melted white chocolate over the top.
Step 6: Chill to Set
Return the decorated slices to the refrigerator for 15 to 20 minutes until the caramel and chocolate toppings are completely firm. Serve cold right off the stick!
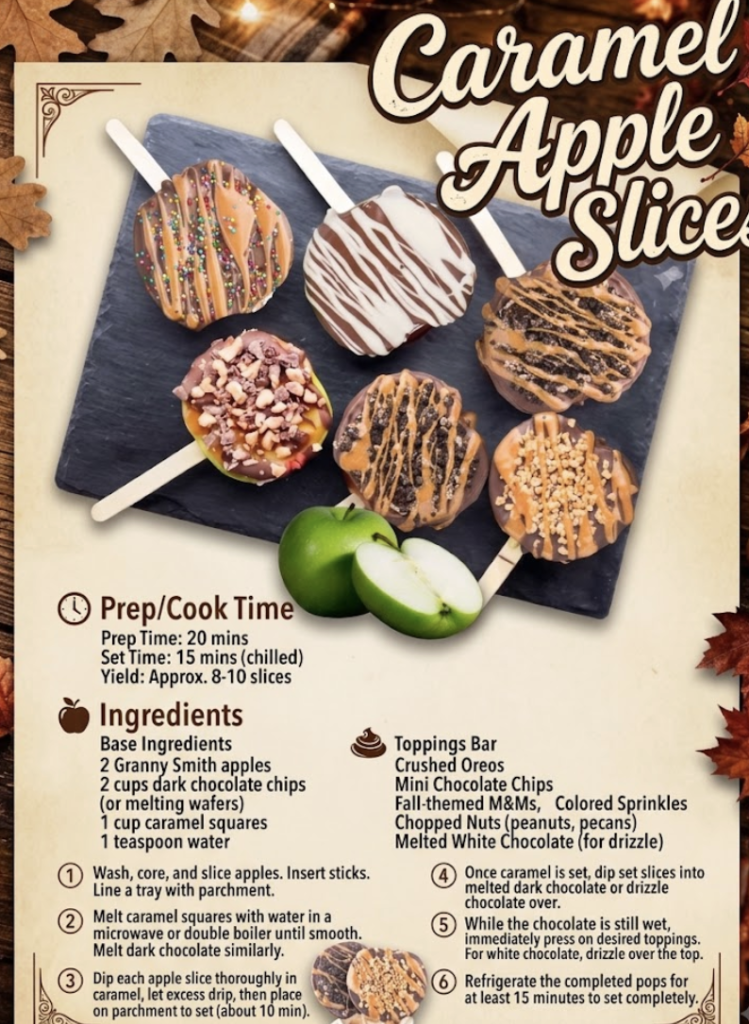
recipe card
Pro-Tips for Success
- Stick Adhesion: If your popsicle sticks feel loose, dip the end of the stick into melted chocolate before shoving it into the apple slice. As the chocolate cools inside the apple slot, it acts like edible glue!
- Eat Fresh: Because fresh apple slices release juice over time, these are best enjoyed on the same day they are made. If storing, keep them in an airtight container in the fridge for up to 24 hours.