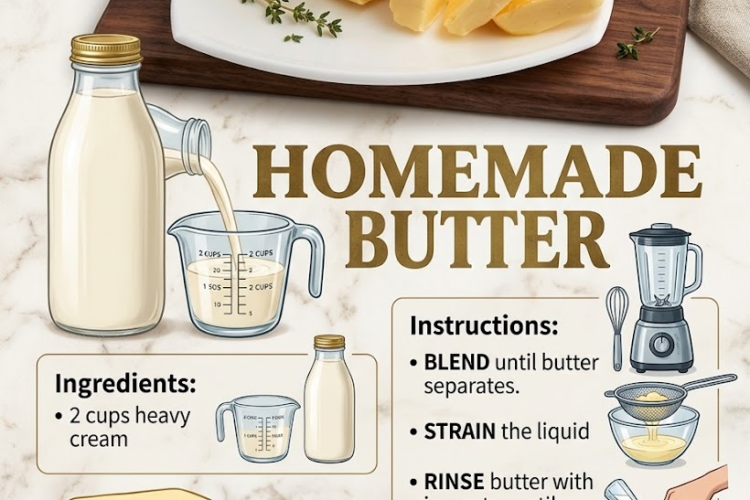
🧈 Simple Homemade Butter
Making butter at home is surprisingly easy! With just one ingredient—heavy whipping cream—you can create rich, fresh homemade butter with a naturally creamy flavor. It’s perfect for spreading on warm bread, melting over vegetables, baking, or using in your favorite recipes.
⏱ Recipe Information
Prep Time: 5 minutes
Churning Time: 8–12 minutes
Total Time: About 15–20 minutes
Yield: Approximately ¾–1 cup butter
Difficulty: Easy
🛒 Ingredients
- 2 cups (480 ml) heavy whipping cream
- Cold water, for washing the butter
- Fine salt, optional, to taste
Instructions
🥛 1. Add the Cream
Pour the heavy whipping cream into a food processor or high-powered blender.
Don’t fill the container more than halfway, since the cream will expand and splash as it changes texture.
🌀 2. Whip the Cream
Process on high speed.
The cream will go through several stages:
- Liquid cream
- Whipped cream
- Thick whipped cream
- Grainy-looking cream
- Yellow butter clumps with a thin white liquid
Continue processing until the butter clearly separates from the liquid.
This usually takes around 8–12 minutes, although the exact time depends on your machine and the temperature of the cream.
Don’t stop when you reach whipped cream—the butter hasn’t separated yet!
🧈 3. Strain the Butter
Pour the contents through a fine-mesh strainer or cheesecloth placed over a bowl.
The liquid that drains away is buttermilk.
Gently press the butter against the strainer to remove as much liquid as possible.
Reserve the liquid if desired for pancakes, biscuits, or baking.
💧 4. Wash the Butter
Place the butter in a bowl and cover it with very cold water.
Gently knead and press the butter with a spoon, spatula, or clean hands.
The water will become cloudy as more buttermilk is released.
Pour off the cloudy water.
Repeat with fresh cold water until the water remains mostly clear.
Washing the butter is important because removing leftover buttermilk helps extend its shelf life.
🧈 5. Press Out the Remaining Liquid
Gather the butter into a ball or mound.
Using a wooden spoon, spatula, or butter paddles, press and knead the butter firmly to remove any remaining moisture.
Drain away the liquid that collects.
Continue until very little liquid comes out.
🧂 6. Add Salt, If Desired
For salted butter, sprinkle in a small amount of fine salt.
Start with about ¼ teaspoon per cup of finished butter, then taste and adjust.
Knead thoroughly so the salt is evenly distributed.
For unsalted butter, simply leave the salt out.
❄️ 7. Shape & Chill
Transfer the finished butter to a small airtight container.
Alternatively, shape it into a log, wrap it tightly in parchment paper, and refrigerate.
Chill for at least 30 minutes before serving.
⭐ Chef’s Tips
Use Cold Cream
Cold heavy cream generally separates more efficiently and helps keep the butter firm.
Don’t Throw Away the Buttermilk
The liquid left after churning is excellent for pancakes, biscuits, waffles, cornbread, and marinades.
Wash Thoroughly
The cleaner the butter, the longer it will keep.
Don’t Overfill Your Blender
Butter-making gets messy once the cream starts separating, so leave plenty of room.
Use a Food Processor for Easier Churning
A food processor usually gives you more room to watch the transformation and makes straining easier.
🧈 Flavor Variations
Garlic Herb Butter
Mix in minced garlic, parsley, chives, and a pinch of salt.
Honey Butter
Add 1–2 tablespoons honey and a pinch of salt.
Cinnamon Butter
Mix in 1 teaspoon cinnamon and 1–2 tablespoons honey or maple syrup.
Lemon Herb Butter
Add lemon zest, parsley, and a little black pepper.
Chili Butter
Mix in chili flakes, smoked paprika, and a pinch of salt.
🧊 Storage
Store homemade butter in a clean, airtight container.
Refrigerator: About 1–2 weeks when thoroughly washed and kept cold.
For the freshest flavor, keep only what you’ll use soon in the refrigerator and freeze the rest.
❄️ Freezing
Wrap the butter tightly in parchment or plastic wrap and place it in a freezer-safe container.
Freezer: Up to 6 months for best quality.
Thaw overnight in the refrigerator.
🧈 Recipe Summary
With nothing more than heavy whipping cream and a little patience, you can transform cream into fresh, creamy homemade butter.
The key is to churn until the butter separates, strain away the buttermilk, wash the butter thoroughly, and press out as much remaining liquid as possible.
Spread it on warm bread, melt it over corn or vegetables, or use it in your favorite baking recipes.
One ingredient. One blender. Homemade butter. 🧈✨