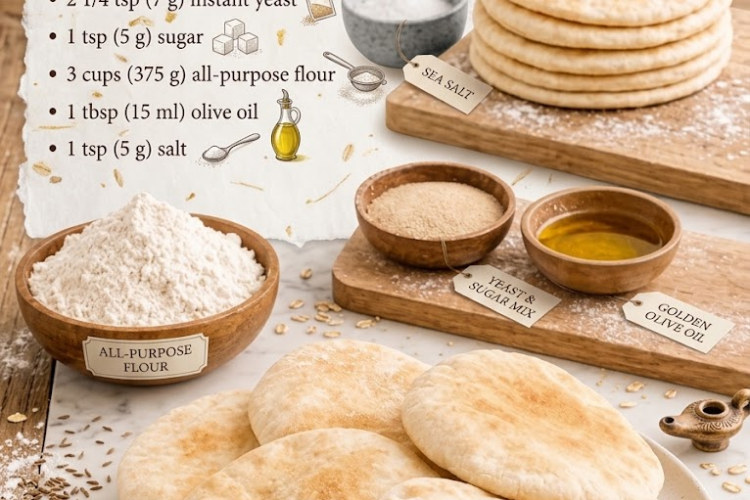
🫓 Homemade Pita Bread
Soft, fluffy, and wonderfully chewy, this homemade pita bread is surprisingly easy to make with just a handful of pantry staples. The dough puffs beautifully in a hot oven, creating the signature pocket that’s perfect for hummus, falafel, grilled meats, sandwiches, or dipping.
⏱ Recipe Information
Prep Time: 20 minutes
Rise Time: 1 hour
Cook Time: 12–15 minutes
Total Time: About 1 hour 35 minutes
Yield: 8 pita breads
Difficulty: Easy
🛒 Ingredients
- 3 cups (375 g) all-purpose flour
- 1 cup (240 ml) warm water
- 2¼ teaspoons (7 g) instant yeast
- 1 teaspoon granulated sugar
- 1 teaspoon salt
- 1 tablespoon olive oil
Instructions
🫓 1. Make the Dough
Add the warm water, instant yeast, and sugar to a large mixing bowl.
Stir briefly and let stand for 3–5 minutes.
Add the flour, salt, and olive oil.
Mix until a shaggy dough forms.
🤲 2. Knead
Transfer the dough to a lightly floured work surface.
Knead for approximately 7–10 minutes, until smooth, elastic, and soft.
The dough should be slightly tacky but shouldn’t stick heavily to your hands.
If it’s very sticky, add flour 1 tablespoon at a time. Avoid adding too much flour because a stiff dough can produce tough pita.
🫒 3. First Rise
Lightly oil a clean bowl.
Place the dough inside and turn it once so the surface is lightly coated.
Cover with a clean kitchen towel or plastic wrap.
Let rise in a warm, draft-free place for approximately 1 hour, or until doubled in size.
🔥 4. Prepare the Oven
About 30 minutes before you’re ready to bake, place a heavy baking sheet, pizza stone, or baking steel in the oven.
Preheat to 475°F (245°C).
The cooking surface needs to become extremely hot for the pita to puff properly.
🔪 5. Divide the Dough
Once risen, gently punch down the dough.
Transfer it to a lightly floured surface.
Divide it into 8 equal pieces.
Shape each piece into a smooth ball.
Cover the dough balls and let them rest for 10 minutes.
This relaxes the gluten and makes rolling much easier.
🫓 6. Roll the Pitas
Roll each dough ball into a circle approximately 6–7 inches (15–18 cm) wide.
Aim for an even thickness throughout.
Important: Don’t make the center too thin or the edges excessively thick. An even thickness gives the steam the best chance of forming a pocket.
Keep the remaining dough balls covered while you work.
🔥 7. Bake
Carefully place 1–2 rolled pitas onto the preheated baking surface.
Bake for approximately 2–3 minutes.
You should see the pita begin to inflate dramatically as steam forms inside.
Once fully puffed and lightly golden, remove them from the oven.
Repeat with the remaining dough.
🧺 8. Keep Them Soft
Immediately place the baked pitas inside a clean kitchen towel and cover them.
Stack them as you bake.
The trapped steam keeps the pita soft and flexible.
Allow them to cool slightly before serving.
⭐ Chef’s Tips
Get the Oven Very Hot
A high temperature is one of the most important factors in getting a proper pita pocket.
Preheat the Baking Surface
The dough needs to hit a very hot surface immediately to create enough steam for puffing.
Don’t Overwork the Dough After Rising
Handle it gently so you don’t knock out all the air.
Roll Evenly
Uneven dough can result in partial or missing pockets.
Don’t Overbake
Pita only needs a few minutes. Too much baking will dry it out and make it brittle.
🫓 Why Didn’t My Pita Puff?
If your pita doesn’t form a pocket, check these common causes:
- Oven wasn’t hot enough.
- Baking surface wasn’t sufficiently preheated.
- Dough was rolled too thin.
- Dough was rolled unevenly.
- Dough wasn’t rested long enough.
- Too much flour was incorporated during kneading.
- Pitas were baked for too long.
Don’t worry if some don’t puff perfectly—they’ll still make delicious flatbreads.
🍽️ How to Serve
Classic Dip
Serve warm with:
- Hummus
- Baba ganoush
- Tzatziki
- Labneh
- Olive oil and za’atar
Stuffed Pita
Fill with:
- Falafel
- Grilled chicken
- Shawarma
- Beef or lamb
- Lettuce and tomato
- Cucumber
- Pickled onions
Breakfast
Fill with scrambled eggs, cheese, avocado, and herbs.
Crispy Pita
Cut into wedges, brush with olive oil, season, and bake until crisp for homemade pita chips.
🧊 Storage
Store cooled pita in an airtight bag or container.
Room temperature: 2–3 days.
Reheat briefly in a skillet, toaster, or oven to bring back their softness.
❄️ Freezing
Pita freezes exceptionally well.
Place parchment between individual breads and transfer them to a freezer-safe bag.
Freezer: Up to 3 months.
Thaw at room temperature or reheat directly from frozen in a skillet or oven.
🫓✨ Recipe Summary
This Homemade Pita Bread is soft, chewy, and beautifully puffed, with a tender interior that’s perfect for filling or dipping.
With just flour, water, yeast, sugar, salt, and olive oil, you can make fresh pita at home that’s far more delicious than store-bought.
Warm it, stuff it, dip it, or turn it into crispy pita chips—this is a homemade staple you’ll want to make again and again. 🫓❤️